Figma is a powerful, cloud-based design tool that has revolutionized the way designers collaborate and create digital interfaces. This guide will help you get started with Figma by introducing you to its interface and basic tools. Whether you are new to design or transitioning from another tool, this guide will equip you with the knowledge to begin creating beautiful and functional designs in Figma.
Figma Beginner Tutorial Guide
1. Introduction to Figma
Figma is best to design the UI/UX of mobile, Website etc. Figma is all-in-one design platform that allows teams to design, prototype, wireframing and gather feedback all in one place. Its cloud-based nature means you can access your projects from anywhere, collaborate in real-time with team members, and never worry about losing your work due to software crashes.
2. Setting Up Figma
Sign Up: Go to Figma’s website and sign up for a free account.
Install the Desktop App (Optional): While you can use Figma in your web browser, the desktop app provides a more streamlined experience. Download it from the Figma website.
3. Figma Interface Overview
Upon opening Figma, you’ll be greeted by the Home Screen, where you can access recent projects, templates, and team workspaces.
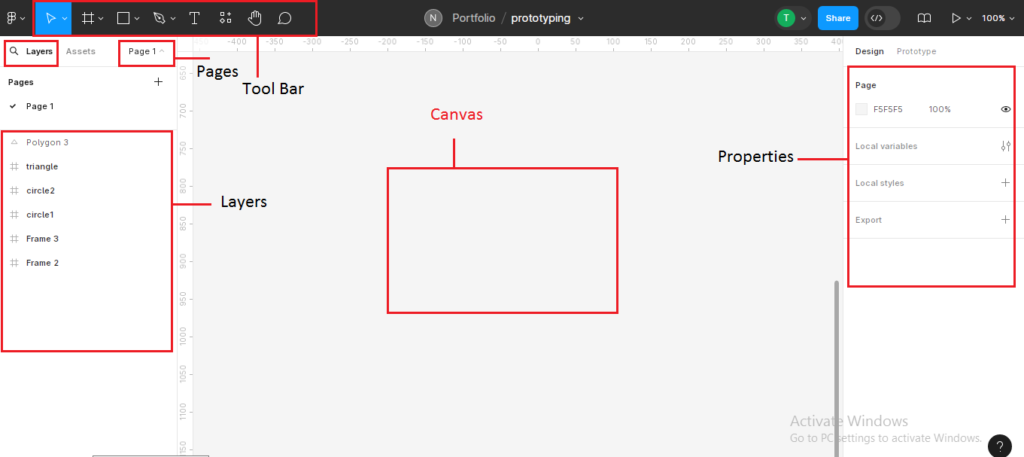
Key Areas of Figma’s Interface:
Toolbar: Located at the top, this contains tools for selecting, drawing, and editing objects.
Layers Panel: Found on the left, it shows the hierarchy of all the elements in your design.
Properties Panel: On the right, this displays properties and settings for the selected object.
Canvas: The main area where you create and edit your designs.
Pages: At the top of the Layers Panel, you can manage different pages within your project.
4. Creating a New File
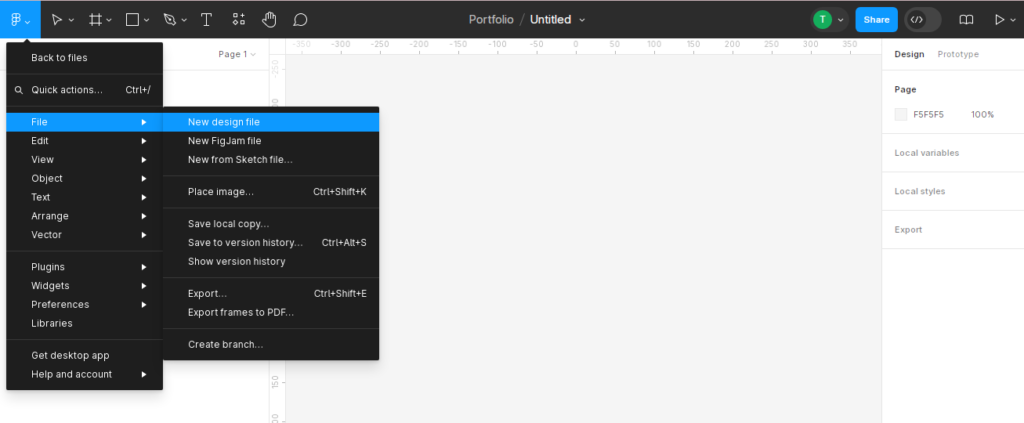
To create a new file:
Click on the New File button on the Home Screen.
Choose between a Design File or a FigJam File (for brainstorming and collaboration).
. Basic Tools in Figma
Move Tool (V): Select and move objects around the canvas.
Frame Tool (F): Create frames, which are containers for other design elements. Frames can represent screens, artboards, or any bounded area.


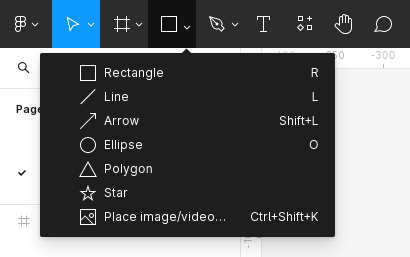
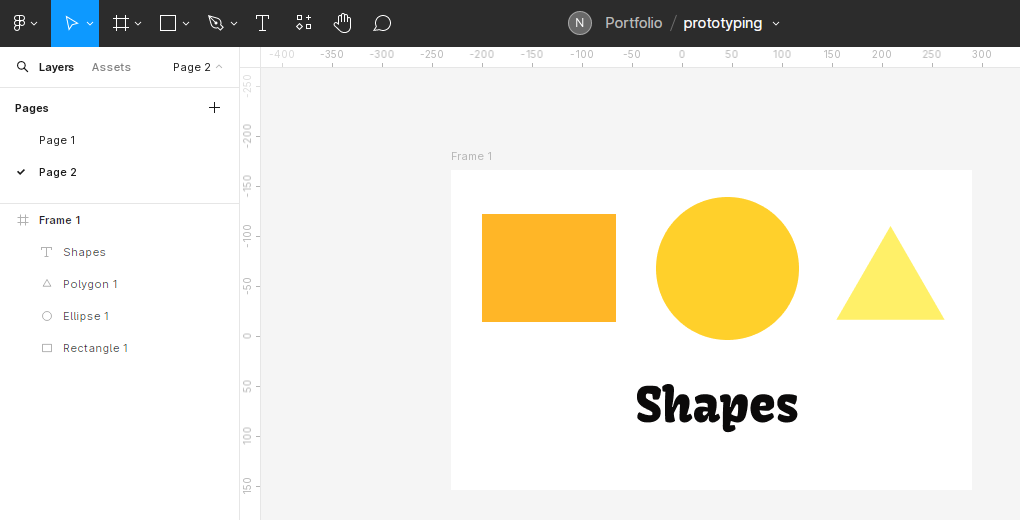
Shape Tools (R for Rectangle, O for Oval): Draw basic shapes like rectangles, circles, lines, and polygons.
Pen Tool (P): Create custom shapes and paths.
Text Tool (T): Add text to your designs.
Hand Tool (H): Pan around the canvas.
Zoom Tool (Z): Zoom in and out of your design.
6. Designing Your First Frame
Select the Frame Tool (F) and draw a frame on the canvas.
Use the Properties Panel to adjust the frame’s size, position, and other properties.

7. Adding and Styling Shapes
Use the Shape Tools to draw basic shapes inside your frame.
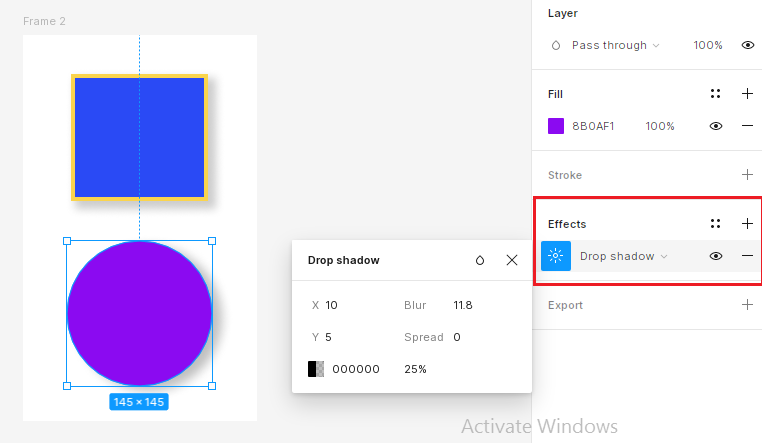
Select a shape and use the Properties Panel to adjust its fill color, stroke, and effects like shadows and blurs.


8. Working with Text
Choose the Text Tool (T) and click on the canvas to begin typing.
Use the Properties Panel to change the font, size, color, alignment, and other text properties.

9. Using Layers and Groups
Organize your design elements in the Layers Panel. Drag elements to rearrange them.
Group multiple elements together by selecting them and pressing Ctrl + G (Cmd + G on Mac).

10. Introduction to Components
Components are reusable elements. To create one, select an element or group of elements and click on the diamond shape to Create Component.

Use instances of the component throughout your design, making it easy to update all instances by editing the main component.
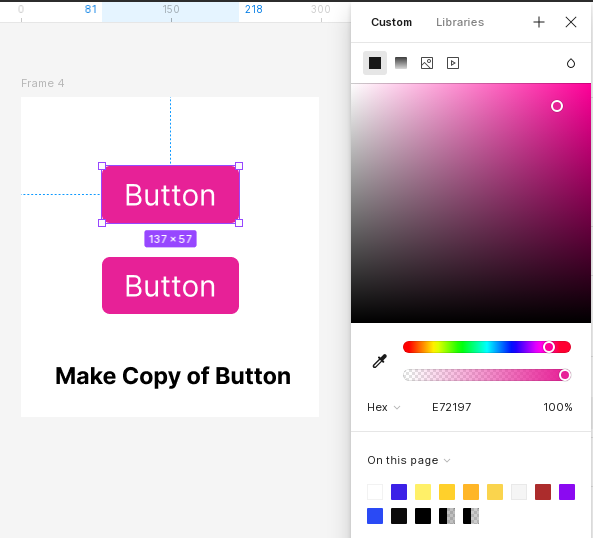
Create a copy of the button and change the primary button color.

When you change the primary button color, the secondary button color will automatically update due to the shared component.
11. Prototyping Basics
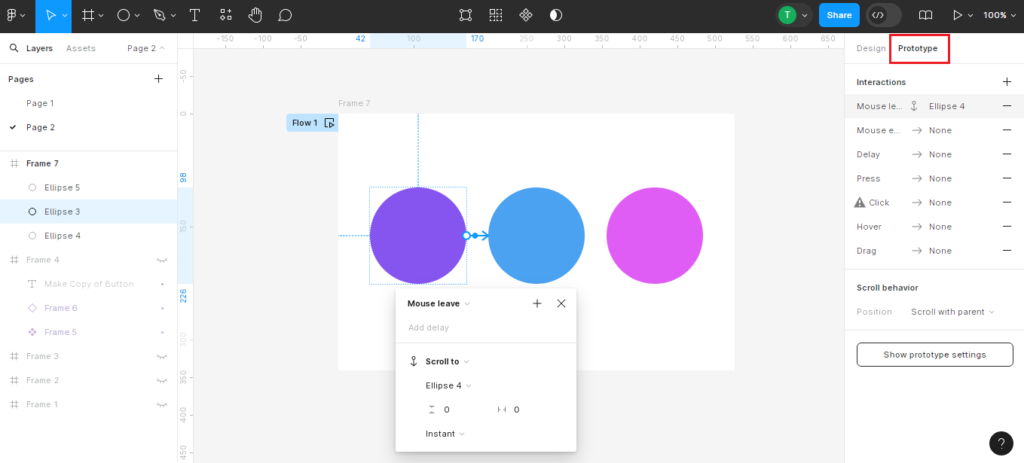
Go to the Prototype tab in the Properties Panel.
Connect frames by dragging from the blue circle on one frame to another. Set interaction details like on click, while hovering, and more.
12. Collaborating in Figma
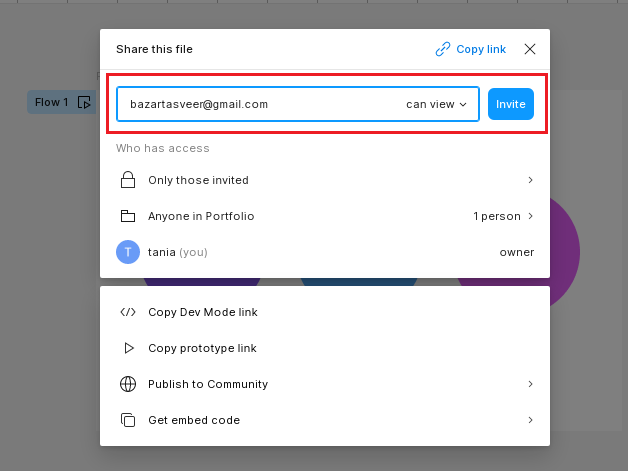
Share your design by clicking the Share button in the top right corner.

Invite team members to collaborate on your design by viewing or editing it. They can leave comments and suggestions directly on the canvas.
13. Exporting Your Design
Select the elements or frames you want to export.
In the Properties Panel, click Export and choose the format (PNG, JPG, SVG, etc.).
Click the Export button to save the files to your computer.

14. Figma Plugins
Enhance your workflow with plugins. Access them via the Resources button in the toolbar.
Browse and install plugins for tasks like adding stock images, generating dummy text, icons and more.

Here is a quick Figma beginner tutorial
15. Keyboard Shortcuts
Figma has numerous keyboard shortcuts to speed up your workflow. Some essential ones include:
V: Move Tool
F: Frame Tool
R: Rectangle Tool
O: Oval Tool
T: Text Tool
P: Pen Tool
Z: Zoom Tool
H: Hand Tool
Ctrl + G (Cmd + G on Mac): Group
Conclusion
Figma is a versatile and user-friendly design tool that caters to both beginners and experienced designers. By familiarizing yourself with its interface and basic tools, you can start creating impressive designs and collaborating with your team effectively. Continue exploring Figma’s advanced features and plugins to further enhance your design capabilities.